
Lameness costs dairy farmers hundreds of dollars per cow, but a properly applied hoof block can be an effective management tool. After decades of trimming cattle hooves, I have seen how blocking the healthy claw gives the injured one time to heal. However, it’s not a perfect solution, and knowing when and how to use it makes a significant difference.
How Does a Cow Hoof Block Work?
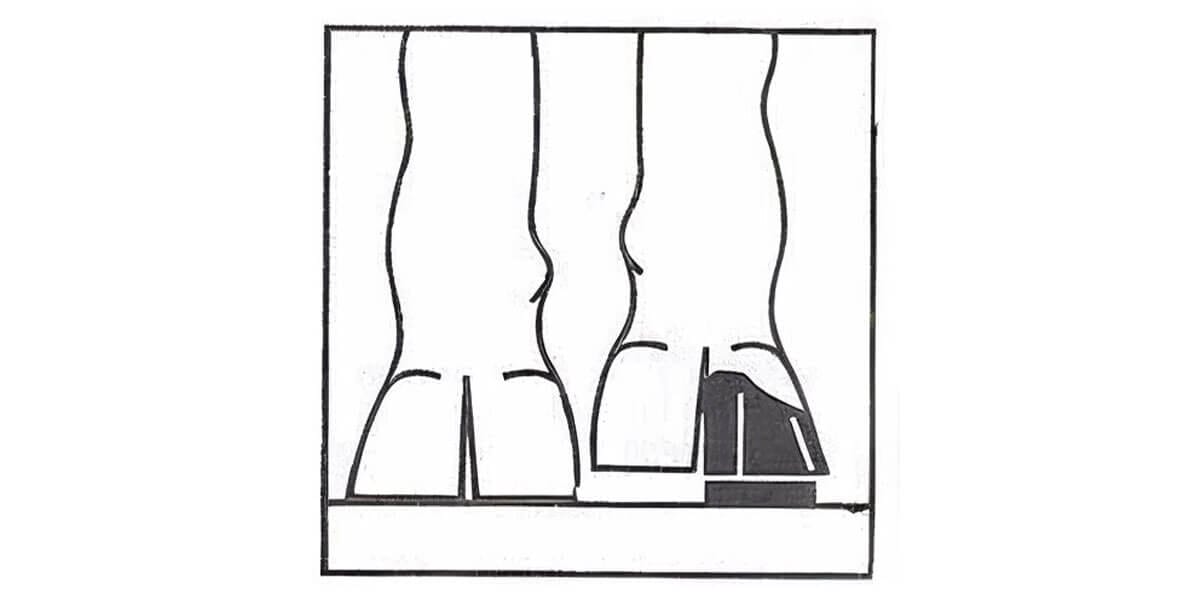
A hoof block shifts weight away from an injured or diseased claw to the healthy one. Attaching a block to the sound claw elevates it slightly, reducing pressure on the sore claw and allowing it to recover.
Think of it like using crutches after spraining your ankle. The block acts as support while the damaged tissue recovers. This works well for sole ulcers, white line disease, and thin soles. The key is having one healthy claw to bear the additional weight for a while.
When blocking isn’t the right solution: if both claws are compromised, or if the “healthy” claw shows any signs of weakness, blocking won’t work. You need to address the root cause instead. Similarly, if inflammation has spread into the joints above the claws, a block can make things worse.
How Do You Properly Apply a Hoof Block to a Lame Cow?
Applying a hoof block for cattle requires attention to detail. Rushing often leads to blocks falling off prematurely or failing to provide sufficient relief.
Assess Before You Block
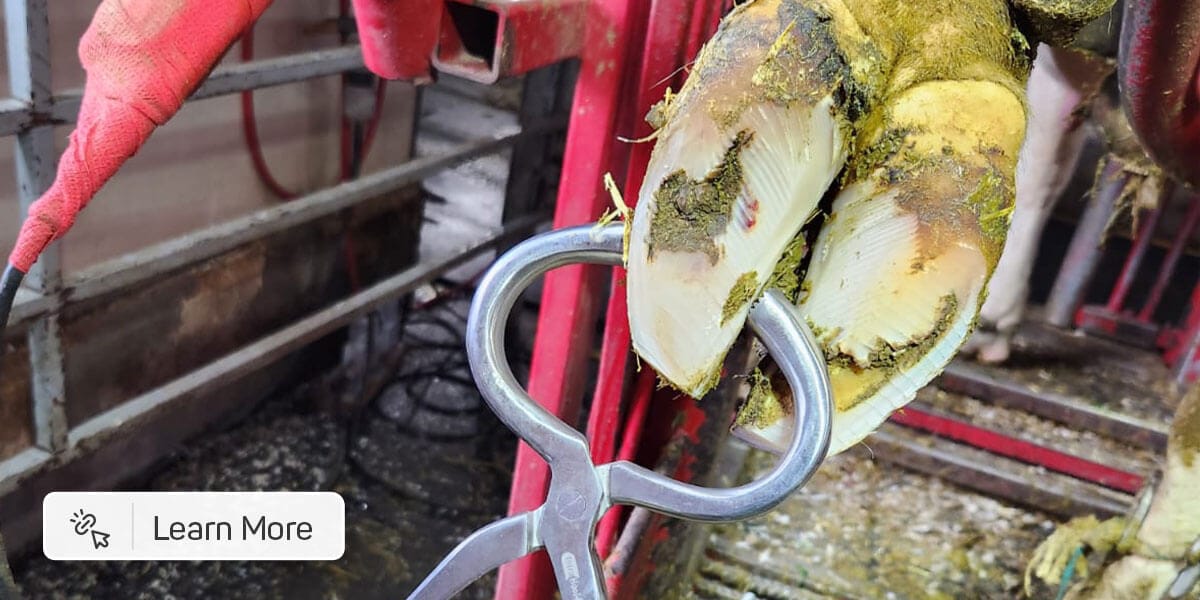
Before reaching for your glue, examine both claws carefully. The injured claw needs a clear diagnosis, and the healthy claw must be truly sound. I’ve seen situations where we block a ‘healthy’ claw, only to discover it had issues once it carried full weight. A hoof tester helps identify hidden problems in the healthy claw before you commit to blocking. Apply pressure to different areas of the sole and watch for pain responses. If the cow reacts to pressure on the supposedly healthy claw, you need to rethink your blocking strategy.
Prepare the Healthy Claw
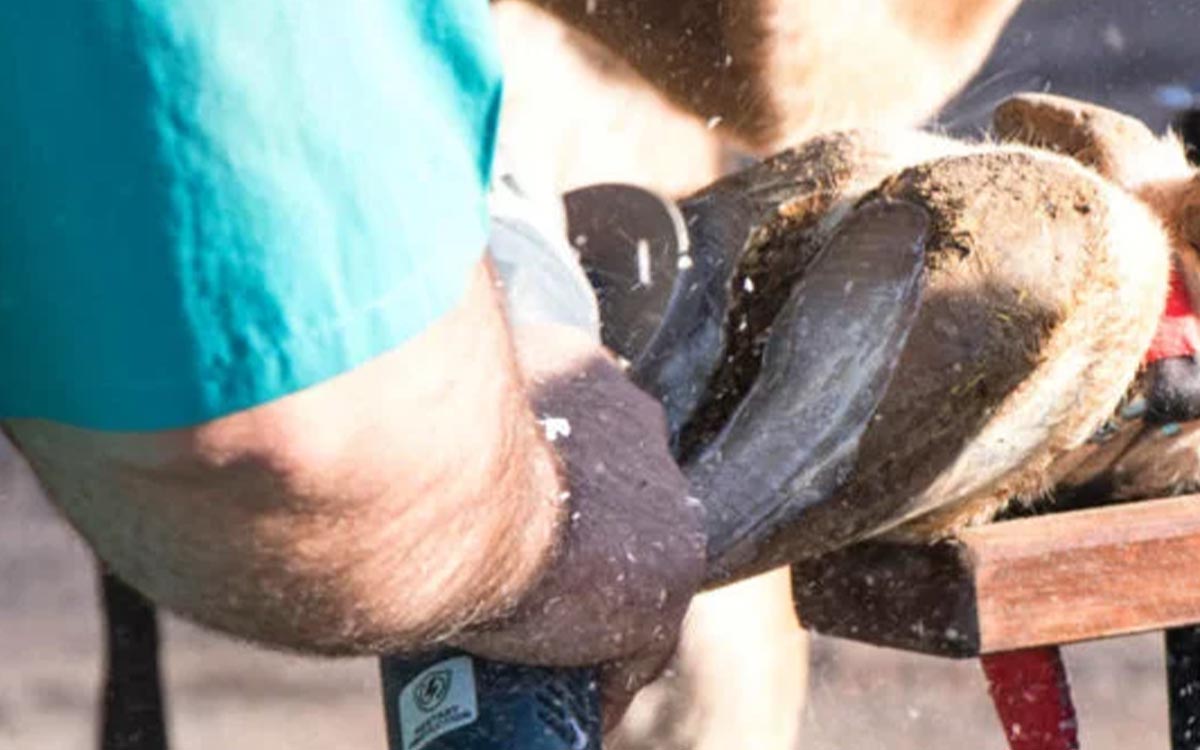
Start by trimming and balancing the healthy claw. Then, use a grinder or hand tools to create a flat, even surface. After that, roughen the contact area with a rasp or file. Use the bow of your hoof knife to cut shallow grooves in the sole and wall where the block will attach. This provides the adhesive something to grip.
Here’s where temperature matters: use a heat gun to warm both the claw and the block. Don’t overheat them, just take the chill off. The surface must be completely dry. Any moisture will prevent proper adhesion.
Select Your Block Type
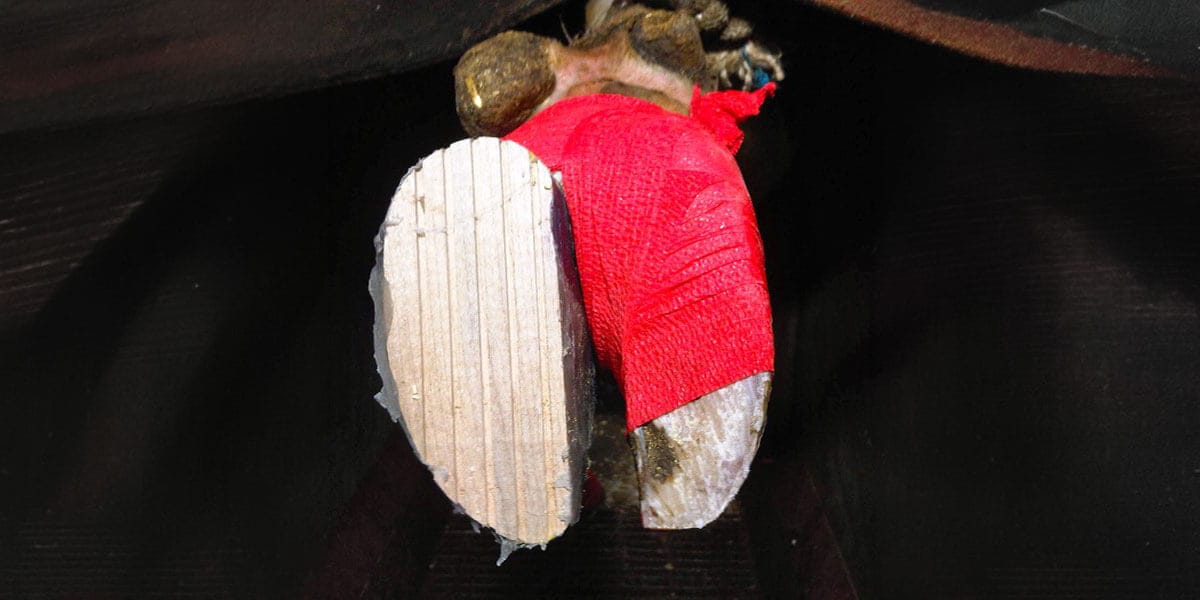
Traditional wooden or synthetic blocks work well when paired with a fast-curing adhesive. Experienced trimmers often prefer these because they’re lightweight and economical. The Demotec Easy Bloc offers a different approach with its integrated shoe design. You mix the adhesive right in the shoe portion, stir until it thickens, then press it onto the prepared claw. This system is easier to use for those new to hoof blocking.
Apply and Verify
Apply your adhesive according to the manufacturer’s instructions. Curing times vary by product and temperature. Some glues set in under a minute, while others need several minutes. While waiting for the adhesive to set, I trim the opposite hoof.
Once the block is secure, verify its placement. The cow should be able to bear weight comfortably on the blocked claw while the injured claw barely touches the ground.
When Hoof Blocking Doesn’t Go as Expected
Even with perfect technique, hoof blocking sometimes fails to solve the problem. Understanding why helps you respond effectively.
Escalated Inflammation in the Treated Claw
Sometimes the original problem worsens despite your best efforts. The inflammation may spread into the joint structures above both claws, deeper into the foot. When this happens, the block becomes counterproductive. You’ll notice the cow remains lame or becomes more uncomfortable.
Immediately remove the block if you suspect this situation. The cow needs a different intervention, antibiotics or anti-inflammatory medications. Consult your veterinarian at this stage. You should consider using a hoof bag instead, along with medications to manage inflammation.
Issues with the Blocked (Healthy) Claw
The second common scenario catches many farmers by surprise. The injured claw starts healing as expected, but the blocked claw develops problems. It wasn’t as healthy as it appeared, or it simply couldn’t handle carrying the full weight for weeks.
This situation requires quick action. Remove the block and address whatever is developing underneath. The freshly healed claw can now carry weight again, but there’s no guarantee. It’s frustrating, but it happens.
When Blocks Fall Off Early
If your blocks keep falling off, review your application process. Was the surface truly dry? Did you roughen it enough? Was everything warm enough in cold weather? These factors determine whether a block stays on for weeks or falls off in days.
If problems persist, contact the adhesive manufacturer. They can assist in addressing specific issues with their product.
Best Practices for Effective Hoof Block Management
Success with hoof blocking extends beyond the initial application. Proper monitoring and timely removal are equally important.
Recommended Duration
Leave the block on for up to 6 to 8 weeks. This timeframe allows healing while minimizing the risk of overburdening the healthy claw. Consider it a temporary support, not a permanent solution.
Regular Monitoring and Maintenance
Check the cow at the 3- to 4-week mark. Ask yourself two questions: Is the injured claw healing? Is the blocked claw handling the extra weight? If either answer is no, you need to respond.
Watch how the cow moves. A cow that was improving but suddenly becomes lame again needs immediate attention. Don’t wait for your scheduled check. If she’s struggling, the block isn’t doing its job, and keeping it on risks creating a new problem.
Safe Removal Procedures
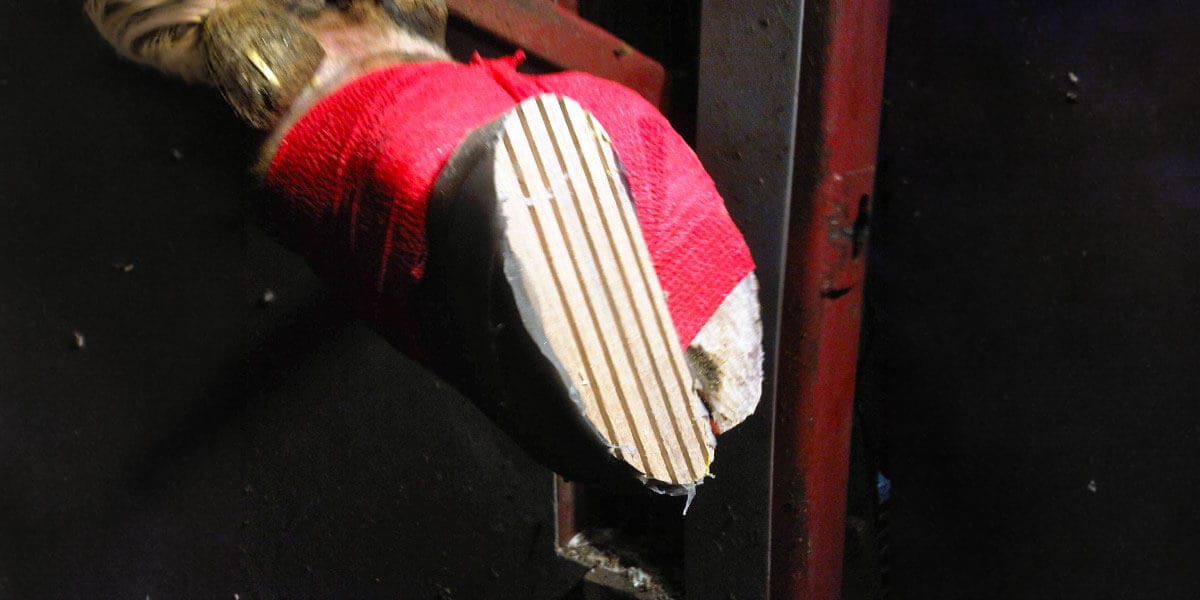
When it’s time to remove the block, I use a fencing plier to carefully break through the adhesive. Once removed, examine both claws and trim as needed to restore proper balance.
Frequently Asked Questions
How long should a hoof block remain on a cow?
Check the cow’s progress at 3-4 weeks. If the injured claw hasn’t started healing by then, or if the blocked claw is struggling, remove the block sooner. The goal is healing, not just keeping the block on for a specific duration.
What should I do if the hoof block comes off early?
First, review your application method. Ensure you’re roughening the surface adequately, working with warm, dry claws, and following the adhesive manufacturer’s instructions. If blocks continue falling off despite proper technique, contact the manufacturer for troubleshooting.
Why is my cow still lame after I applied a hoof block?
There are two main reasons: either the inflammation in the treated claw has worsened and spread into deeper structures, or the blocked claw has problems you didn’t initially detect. Remove the block and reassess both claws. You need a professional hoof trimmer or veterinarian to help at this stage.
Do I need specific tools to apply a hoof block?
Yes. At minimum, you need tools to trim the hoof flat, a rasp or file to roughen the surface, a sharp hoof knife to cut grooves, and a heat gun for cold-weather applications. A grinder helps with initial trimming, but it isn’t necessary. The right tools make the job safer and more efficient.
What’s the difference between the Demotec Easy Bloc system and wooden blocks?
Traditional wooden or synthetic blocks require fast-curing adhesive applied with a glue gun. You mount them directly to the sole surface using a precise technique. The Demotec Easy Bloc takes a different approach. Its integrated shoe design lets you mix adhesive right in the attachment unit, which then wraps around the entire hoof wall. This method offers more room for error, making it easier for less experienced handlers. Seasoned trimmers often favour traditional blocks because they are quicker to apply and more economical. Both systems deliver results when the application is executed correctly.
Conclusion
Hoof blocking is a valuable tool in your lameness management strategy, but it requires skill, attention, and follow-up. The block itself doesn’t heal the cow; it creates conditions that allow healing to occur. Your job is to apply it correctly, monitor progress, and remove it when it has served its purpose or is no longer working.
Remember to consult a professional hoof trimmer or your veterinarian if you’re unsure about any step. The investment in proper hoof care results in healthier, more productive cattle. For more information on managing lameness in your herd, visit our hoof disease library or explore our lameness prevention protocols.

Record Keeping Worksheet
Keep track of your herd's records with ease and precision.. Web and print-ready options included!
Download